To create a course, select the New Course option under Courses.
From the New Course page, you can select from the following methods to Create a New Course:
- Trellis Course: Create a new course by filling out the course information
- SCORM Course: Upload a SCORM 1.2 or 2004 published zip file
- Video Course: Create a course from a video file
- Course XML: Upload a Trellis Course XML

Trellis Course
Fill out the desired Course Information fields for the new course.
- Title – Enter the title of the course as you want it to appear in the system for all users to see.
- Code – Enter a course code, if you would like to assign a specific one to this course. Otherwise, this field can be left blank.
- Type – Enter a course type, if you would like to distinguish the course type (e.g. Online, Self-Study, Test, etc.). Otherwise, this field can be left blank.
- Topic – Enter a topic (e.g. Auditing, Accounting, etc.), if there is one. If not, leave this field blank.
- Short Description – The short description currently does not appear anywhere on the Learning Center.
- Description – Enter a description that will appear in the course information page for this course on the Learning Center. Note that HTML tags must be used for any type of formatting (e.g. <p>paragraphs</p>, <ul>bulleted list</ul>, <li>bullet points in bulleted list</li>, etc.).
- Expiration Date – If you know the date in which you would like to expire this course and have it no longer accessible by users (though the course and certificate will still appear in their transcripts). You can always go back and add this later. If there is no expiration date listed, then the course will never expire.
- Location – For live classroom courses, select a location (that has been previously created) for the course from the drop-down menu only if there is only one training location and no additional course sections* for this course. Leave the location as “None” if course sections at multiple locations will be added later.
*Note: If there will be multiple training locations and course sections, you will need to create each location separately before later creating and adding course sections.
To create an exam, you will complete the steps above.
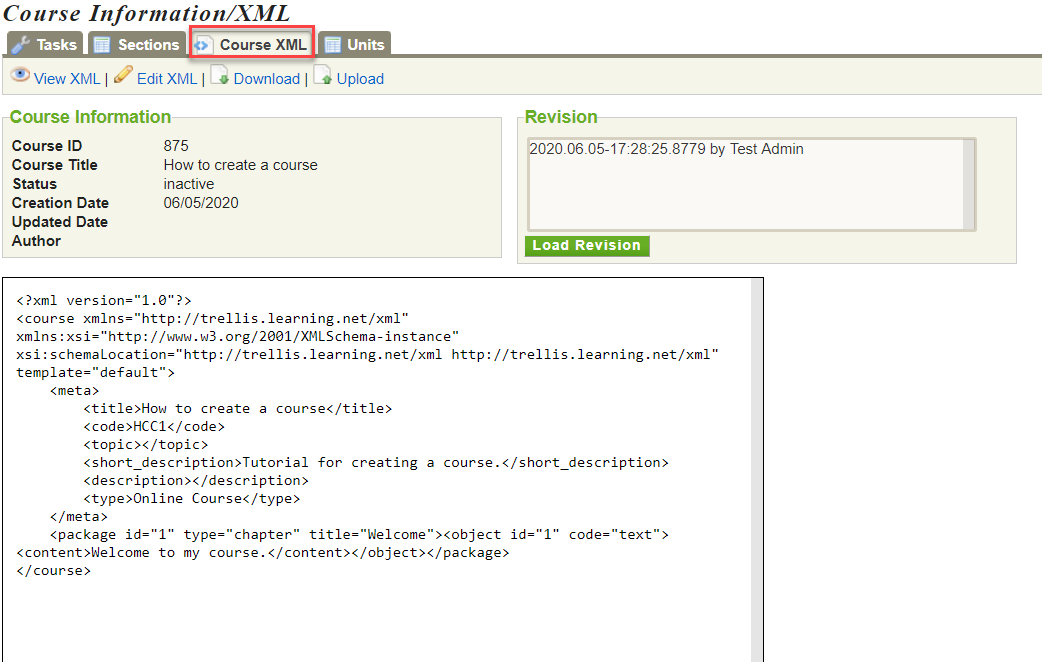
Once you have created the course, you will click on the Course XML tab from the Course Information page.
From the Course XML page, you can upload the XML file
You may also download and edit the Course XML from this page.

* Note: You can also create an exam directly by selecting Course XML from the New Course options.
SCORM Course
You can upload a SCORM 1.2 or 2004 published zip file.
- Select Choose File and select the course file from your system.
- Select Upload Course to complete the process.
Video Course
You can create a course by uploading a Video.
- Select Browse to search for the video file and upload it from your computer. You can also Drag and drop files into the boxed area on the screen.

- Once the video file has been uploaded, you will be taken to the Content Editor screen. From here, you can play and review the video, enter in the Video Transcript, Video Intro Message, and the Completion Message.

- Select Save to save the changes.
Note: You will need to change the course Status from 'Staging' to 'Active' once it is ready for users to enroll and complete.